


Key points
- Grain thrown out of harvesters reduces profit and increases the cost of controlling weeds and diseases
- Independent tests show average losses in a 2.39-tonne-per-hectare canola crop are just over three per cent, reducing profit by more than $68/ha when canola is valued at $886.30/tonne
- A balance between losses and capacity needs to be struck
- Use a grain collection (drop) tray to measure losses and fine-tune productivity
- Change one setting at a time and re-test to check the results
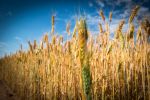
A recent study showed growers lost more than three per cent of grain per hectare when harvesting canola in 2021.
The finding by Western Australia’s Grower Group Alliance is being used by machinery specialists to re-emphasise that measuring grain losses when harvesting is the first step to putting more profit in your pocket.
At a canola price of $886.30 tonne and a yield of 2.39 tonnes/ha, a three per cent grain loss equates to more than $68/ha in lost profit.
Peter Broley, who coordinates GRDC’s Harvester Set-Up Workshops, says too many growers are still ignoring the profitability and productivity gains that could be made by accurately measuring – and working to minimise – grain losses from their harvesters.
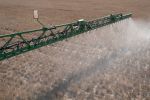
The workshop presenter, who is also the chief executive officer of Primary Sales Australia, says putting more grain in the bin and increasing harvester capacity (tonnes/hour) starts by investing in or building a drop tray.
Several drop trays on the market come with smartphone apps, which can be employed easily to measure losses. HarvestCalc and Bushel Plus are two examples.
Improved profit
To demonstrate what can be gained from the correct harvester set-up, Mr Broley points to a WA grower using a John Deere machine to direct-head canola.
He says the grower did not realise his harvester was throwing out 217 kilograms/ha of grain in a 2t/ha crop until he used a drop tray to quantify the percentage lost.
“He slowed the harvester’s fan speed and did another test with his drop tray. The result showed he had reduced losses to 100 kilograms/ha,” Mr Broley says.
“Keen to check if the fan speed was too low, the grower increased the fan speed slightly and completed the third test with the drop tray. It showed he had reduced grain losses to 70kg/ha.
“These changes saved $58,000 across his 500ha canola program.”
He says that in some cases drop trays can also increase harvesting productivity. This is important, particularly when rainfall threatens to reduce grain quality and returns.
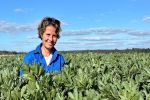
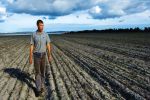
WA grower Pat Ridden from South Gibson agrees, saying that a drop tray has helped him fine-tune his harvesting operation.
“We’re keeping our losses in wheat under one per cent,” he says. “I’m going one kilometre faster and getting over more ground faster, (which is) important (when) we have a very short window to harvest.”
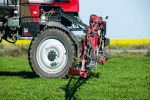
Minimise front losses
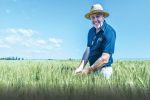
Kondinin Group engineer Ben White says 2021 research with GRDC investment in WA showed front losses were far higher than he had expected.
“When harvesting cereals, set the reel to penetrate the crop only enough to lay cut material onto the draper belt. This prevents the reel from knocking grain out of the head and onto the ground,” Mr White says.
“When direct-harvesting canola, tests showed losses from an adjustable table front were one per cent compared to 1.7 per cent with a standard draper front.
“When you put that in context, with the canola price, the capacity to minimise losses with an adjustable table front in a direct harvesting scenario will pay for itself relatively quickly.”
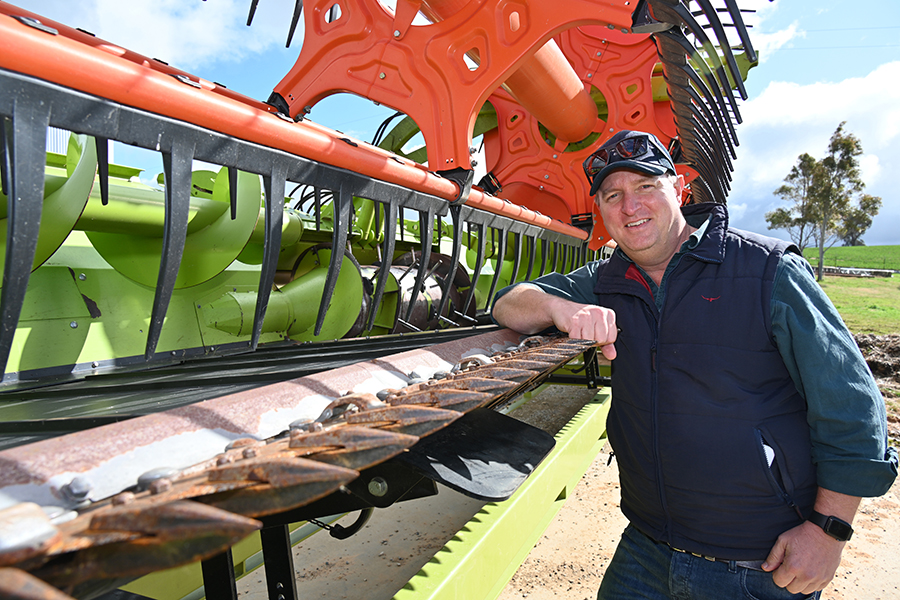
Kondinin Group research engineer Ben White says a sharp cutter bar is critical in reducing front-end grain losses. Photo: Nicole Baxter
To reduce front losses, he says to check that the cutter bar is sharp, level, straight and damage-free before starting work and at regular intervals each day.
“Replace damaged knife sections or knife guards,” he says.
“If you are changing speed when harvesting and working on manual, do not forget to change the reel speed to about five per cent faster than your ground speed.
“On draper fronts, most grain losses happen around the transition point between the draper belts.
“There are kits you can fit to keep pushing material toward the centre draper.”
For table augers, Mr White says finger timing at full extension should ideally be set in the 5 o'clock position as you look at them from at the right-hand side of the machine.
“Adding Duck Foot™ paddles, core flute or draper matting to the reel may help to improve feeding of the crop from the knife in light or variable crop conditions,” he says.
For those direct-heading and working in bulky crops, he says fitting cross augers and optimising their speed and position will maintain material flow across the front and prevent blockages.
Pick-up fronts
When using a pick-up front in canola, he says optimal front set-up changes throughout the day as crop and weather conditions fluctuate.
“If you’re using a pick-up front in canola and want to see how much grain is being lost, upfront, carefully slide an ice-cream container lid under the windrow,” he says.
“After the pick-up front passes over the lid but before the residue is spread over it from the machine, pull up and look at how much grain is on the lid.”
One way to prevent windrowed canola from flowing over the table auger and onto the feeder house, he says, is by fitting an acrylic screen to the centre of the pick-up front.
Another way to minimise losses in canola is to harvest in the same direction the crop was windrowed.
Machine losses
Harvester technician Brett Asphar, from Seed Terminator, says a rotor operating at 900 revolutions per minute only has one-fifth of a second to thresh, separate and sort.
“This means we need to have the machine set up right the first time,” he says.
“When using harvest weed seed management, we need to ensure weed seed enters the sieves. That means we absolutely need to eliminate all rotor losses.”
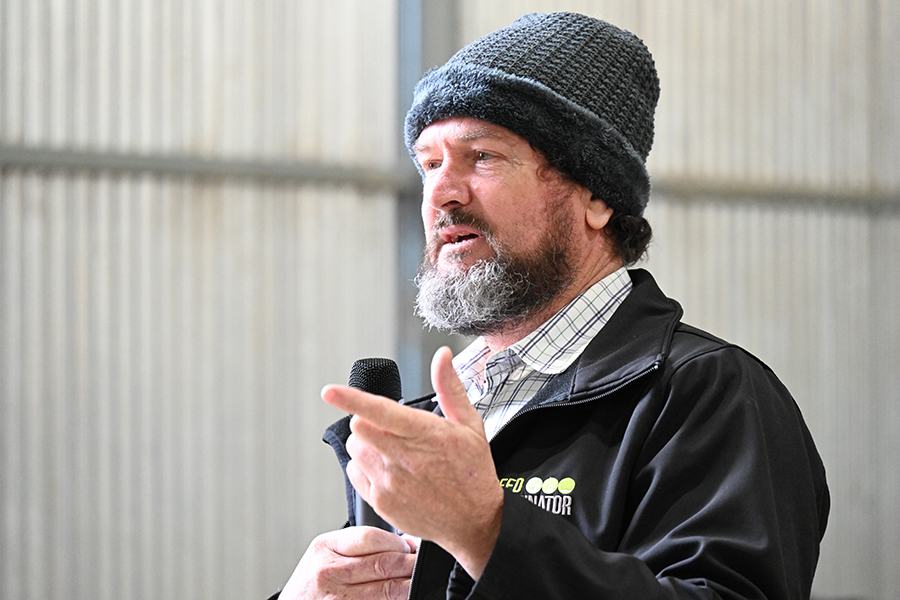
Harvesting specialist Brett Asphar from Seed Terminator. Photo: Nicole Baxter
He says the only way to eliminate rotor losses is to measure how much grain is being lost using a drop tray and changing one setting at a time.
To improve Case IH harvester set-up, Mr Asphar made adjustable brackets to move the concave position to improve capacity and minimise losses.
“However, changing the concave position was not the silver bullet because I still had rotor losses,” he says. “Case harvesters are sold with about eight spike rasp bars; however, they can be fitted with up to 34.”
Spike rasp bars
Four years ago, Mr Asphar visited a farm near Ongerup, WA, where the owner had two Case IH 8240 harvesters and a Case IH 9120 harvester.
“The growers bought the 9120 machine to improve harvesting timeliness,” he says.
“I moved the concave position on all three machines and put 34 spike rasp bars in one of the 8240 harvesters. We couldn’t find enough spike rasp bars, so we put 28 in each of the other two machines.
“After these adjustments, the 8240 with 34 rasp bars was harvesting at 55 tonnes/hour with 0.4 per cent grain losses at 92 per cent engine load.
“The other 9120 harvested 40ha of beans and was packed away for the rest of harvest.
“When working the other 8240 at 50t/hour, we started seeing rotor losses, so we removed the spike rasp bars from the 9120 and fitted them into the 8240.
“The grower reported a significant reduction in fuel consumption and improved timeliness by reducing the rotor load and opening the concave.”
Threshing area
He says moving the concave position moves the pinch point and enlarges the threshing area.
“If you normally run your concave with eight spike rasp bars, start by increasing the number to 28 to improve capacity,” he says.
“Small grain rasp bars are unavailable in Australia for John Deere harvesters. Three years ago, a grower from Frankland, WA, imported a full set for his S680 harvester.
“We fitted the rasp bars when we fitted a Seed Terminator to the back of his harvester and made a few other modifications.
“The grower was happy with the first harvest. However, in 2021, in a 10t/ha relatively wet barley crop, the machine was on its knees at 37t/hour, and we couldn’t eliminate rotor losses because the crop was so large.”
The GRDC Harvester Set-Up team acknowledges that reducing losses in this situation can be challenging. They encourage growers with this issue to contact the team or other growers through the Twitter handle @harvestloss for assistance.
In the past three years, Mr Asphar says, CNH Industrial changed the rotors in New Holland harvesters to be the same as what is found in Case IH machines.
“Accordingly, for New Holland machines, fill the separator section with spike rasp bars to double the separation speed, which should improve capacity and eliminate losses,” he says.
“However, be aware that there is up to 150 grams difference in the weight of spike rasp bars, so it is important to weigh them all and pair them up to eliminate rotor shake.”
Stripper fronts
When running a stripper front, Mr Asphar says some Case IH owners have found that round bar concaves prevent machine blockages. They are also less aggressive and suitable for canola.
“The other advantage is the straw stays intact, allowing easier grain separation and lower grain losses,” he says.
“That means there is more grain by volume on the sieve, allowing the sieve to work better. The harvest weed seed control method fitted to the back of the harvester also works better and wears less.”
Green machines
Harvesting specialist Kassie van der Westhuizen says opening the concave and slowing down can also reduce canola losses in John Deere machines.
“Whatever the brand of harvester you own, you can go through the operator’s manual to find the settings for all crops,” Mr van der Westhuizen says.
“But the manual won’t tell you the optimal ground speed, so that’s up to you to look at losses and decide between how much grain you are comfortable throwing out and productivity.”
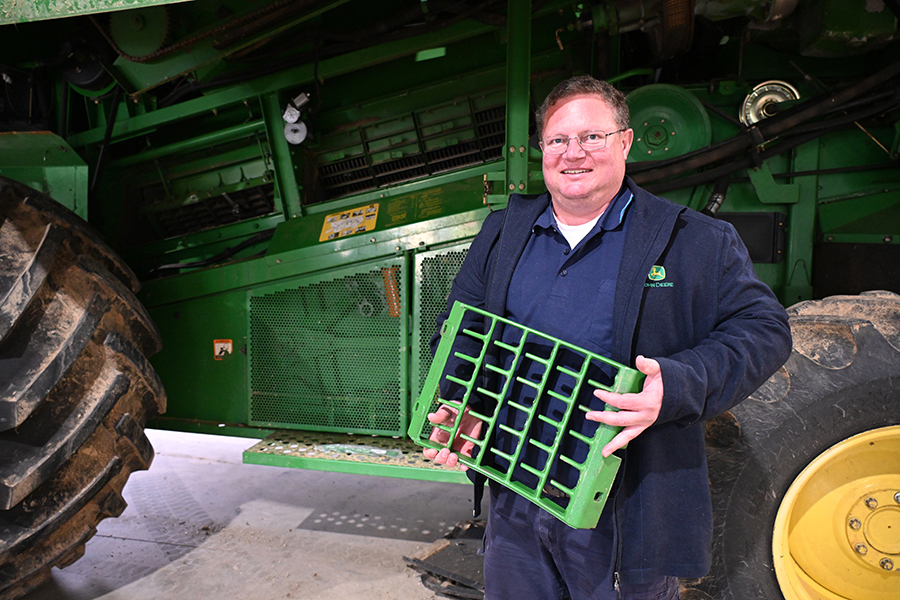
Kassie van der Westhuizen shows how he removed every second finger from the top row of a John Deere separator grate. Photo: Nicole Baxter
Mr van der Westhuizen also uses a drop tray to measure losses and determine whether the harvester is cracking the seed.
“Cracked seed indicates you need to adjust either the rotor or the concaves,” he says. “Interrupter bars can be fitted to a 31-wire concave on John Deere harvesters to promote separation of the grain from the stalk or pod.”
On S-series John Deere harvesters, he says cutting every second finger out of the separator grate opens the separation area.
“I take out every second finger on the top row of the separator grates, which helps to reduce sieve losses in all crops, including pulses,” he says.
“On 50, 60 and 70 series John Deere harvesters, which have separator grates on the other side of the machine, you will see a spacer on the top of the bolt. Take out the spacer and put it between the framework and the separator grate. But don’t cut out every second bar as I suggested for the S-series machines.”
Measuring losses
Depending on the mode of harvest, Mr White says, grain loss collection trays are remotely dropped on the run line from the harvester’s centre axle or manually placed to the side of the harvester between where the front passes and the residue is spread. This enables rotor and sieve losses to be collected.
Drop trays have a carrier which fits to the rear axle. These are secured with electromagnets.
“When the machine is full, operating at typical harvest capacity, and the settings are roughly where you want them, take note or a photo of the settings and drop the tray using a remote control or an app on your phone,” Mr White says.
“Inspect the tray and then tip it carefully into the separator. Measure the remaining grain or grain fragments using a small set of scales. This figure is then entered into a grain loss calculator to determine the result in kg/ha.
“Once measured and losses are deemed acceptable, set the loss monitor sensitivity accordingly.
“Only make one adjustment at a time to pinpoint which change reduced grain losses or increased your productivity without increasing losses.”
Loss benchmarks
For cereals, he says to aim for machine losses of less than one per cent. For canola, aim for losses of less than two per cent. The benchmark for pulses is less than 0.5 to 1.0 per cent.
Once you are happy with your settings, capacity and losses, Mr Broley encourages operators to calibrate the sensors on their harvesters so they can effectively monitor performance in the cabin.
Incentivise measurement
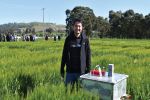
When using harvesting contractors, WeedSmart southern extension agronomist Greg Condon, of Grass Roots Agronomy, says a valuable approach for encouraging the use of drop trays is to incentivise their use.
“Growers who employed contractors saw that when drop trays were part of the agreement, contractors wanted to increase capacity while also reducing losses,” he says.
WeedSmart southern extension agronomist Greg Condon of Grass Roots Agronomy. Photo: Nicole Baxter
Weed management
Across WA and SA, Mr Condon says the adoption of mills for harvest weed seed control is gaining momentum.
He says the ability to kill up to 98 per cent of weed seeds at harvest is a powerful tool when dealing with challenging weeds such as annual ryegrass.
“However, in southern NSW, we’re seeing slower adoption of mills on harvesters because some growers have had difficulty using them in canola, where green stalks can cause blockages and capacity is restricted,” he says.
Mr Asphar says learning to drive the harvester to match the mill is important, otherwise there could be issues.
At Frankland, WA, he fitted a Seed Terminator to a John Deere machine and within seven minutes of putting it into a crop, it was blocked.
“I went inside the machine and found green ropey material that was full of canola seed that wound around the concave and wouldn’t fit between the baffle and the chopper,” he says.
“However, in high-rainfall areas such as Esperance, WA, where canola stalks are still green at harvest, growers have opted for higher-capacity mills with a green screen. These handle 30 times more material than the regular Seed Terminator mill, but the weed seed kill rate will reduce by about four per cent, which is still acceptable.”
Cost spreadsheet
Mr Condon says WeedSmart’s Peter Newman developed a spreadsheet that enables the running costs of mills to be compared when harvesting different crop types.
“The spreadsheet is available on the WeedSmart website. It also compares different harvest weed seed control tools such as chaff decks and narrow windrow burning, not just impact mills,” he says.
“Peter Newman calculates the running cost at about $22 to $25/ha for a mill harvesting a 4t/ha wheat crop.
“In southern NSW, in high-production years such as 2020 and 2021, growers have reported mill running costs of up to $40 to $50/ha. It is expected this would reduce in more-average seasons when fuel use is less.
“A local grower has been using a mill for four years and has been able to cut out the use and cost of pre-emergent herbicides in barley because the weed seed bank is so low.
“The combination of a rotation using brown manure pulses and double-break crop sequences followed by the use of an impact mill has massively reduced the pressure on herbicides.”
Mr Condon says it is critical to ensure dealer support is available when buying a mill.
“Mills also need to be used as part of an integrated approach to weed management that includes the WeedSmart ‘Big 6’. This involves increasing crop competition, rotating crops and pastures, double knocking to preserve glyphosate, mixing and rotating herbicides, and stopping weed seed-set.”
More information: Peter Broley,
See also: GRDC Harvest Resources.
Prepare to minimise fire risk
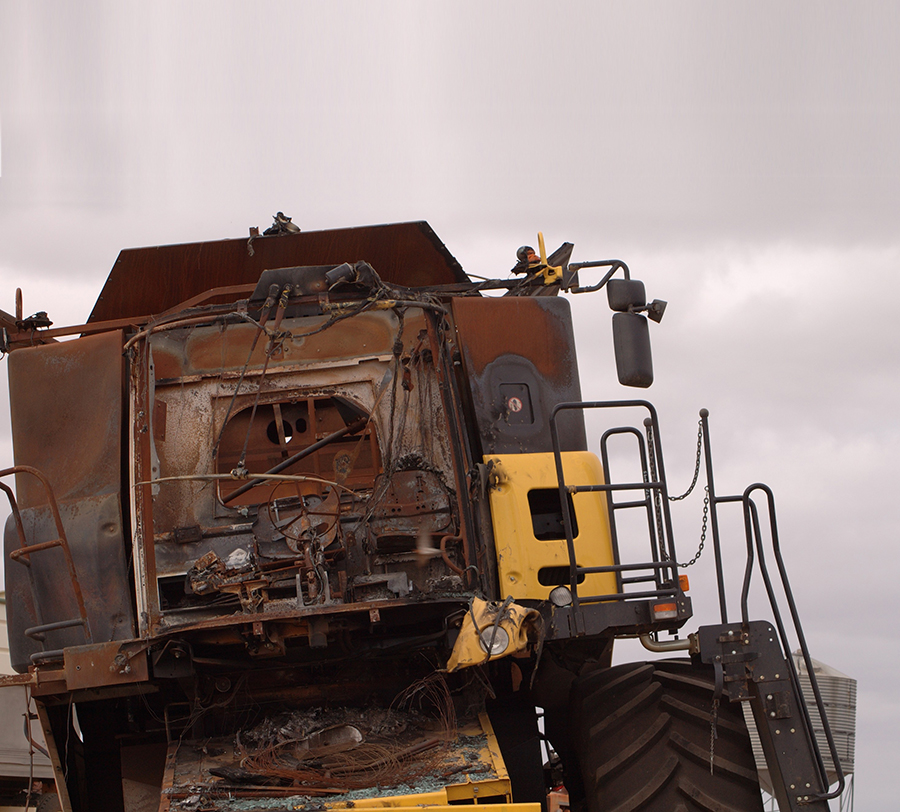
A burnt-out harvester. Photo: GRDC
Kondinin Group engineer Ben White says about 50 per cent of harvester fires are caused by either failed bearings or insufficient harvester hygiene in combination with incendiaries emanating from hot exhaust components.
“An infrared heat gun is a perfect tool to use regularly throughout the day to determine if bearings are getting hotter,” he says. “Ideally, keep a daily record of your findings to determine which bearings are getting hotter – a sign of imminent failure.”
Harvester hygiene
To eliminate dust and chaff build-up, Mr White says to improve harvester hygiene by blowing it down regularly with compressed air.
“Those running weed seed impact mills will have to blow down their machines more frequently because they generate fine dust,” he says. “Chickpea and lentil dust are among the worst for settling on exhaust systems and creating incendiaries.”
Fire extinguishers
He says to ensure your harvester is fitted with the right style of fire extinguishers.
“I like to see one white band and one red band fire extinguisher near the cabin steps and the same combination at the rear of the machine,” he says. “A water extinguisher is useful to carry on the harvester to put out burning crop.
“For powder-type extinguishers, tip them over once every 12 months to make sure the powder hasn’t clumped in the bottom, and they will need a recharge if they have not been used at all.”
Exhaust treatments
Some dealers in northern NSW and Queensland, he says, offer ceramic exhaust coatings as a pre-delivery option to minimise incendiaries coming off rough exhaust component surfaces.
“Alternatively, four or more coats of heat-proof paint can be used to treat the exhaust,” he says. “Another consideration is to check that concave doors are well-sealed and undamaged.”
If you think conditions are too hot and windy, Mr White says, then it is likely that you should stop.
“Check the Harvest Fire Danger Index. If it is approaching 35, stop. Encourage your neighbours to do the right thing as well,” he says.
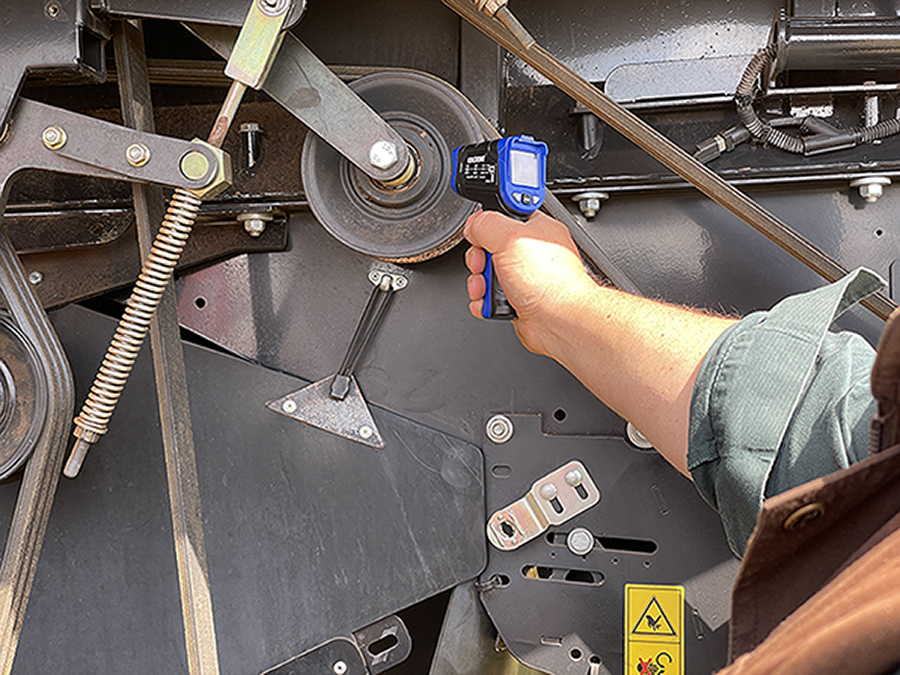
An infrared thermometer is useful for monitoring bearing temperatures. Photo: Ben White
“Be proactive and sit down with your team before harvest to ensure everybody knows what to do and whom to contact, usually 000, if there is a fire.”
A fire suppression system, he says, is a valuable investment.
“Also consider adding a water tank and pump to the drawbar of the chaser bin because the chaser bin driver is often first on the scene.
“Adding a remotely operated nozzle to the system will minimise the risk for operators.”
See also:
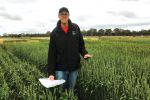
Smart phosphine use prevents grain rejections
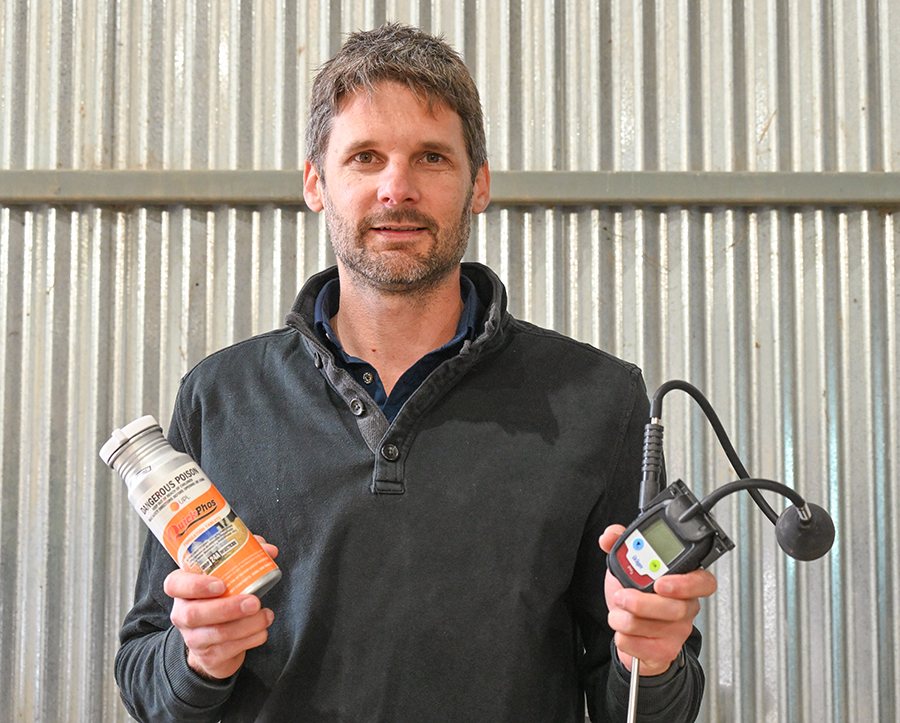
GRDC stored grain extension specialist Chris Warrick holds clearance meters that can be used to detect phosphine residue in grain. Photo: Nicole Baxter
When buying gas-tight silos, GRDC Grain Storage Extension Project coordinator Chris Warrick says that it is important to ask the manufacturer to confirm it meets Australian Standard 2628.
“If your silo meets Australian Standard 2628, it should be able to complete a pressure test and seal for fumigation,” he says.
“A half-life pressure test involves putting a small amount of air in the silo until the oil in the relief valves are about 25 millimetres apart.
“A new silo should take at least five minutes for the oil to drop from 25mm to 12mm apart. An old silo needs to take at least three minutes.
“The test ensures that the silo will hold enough phosphine gas at a high enough concentration for a long enough time to kill insects at all life stages.”
When adding phosphine tablets to silos, he says, place it into the silo at the top on a tray or via a ground-level application system. Do not mix the phosphine with the grain.
“If the grain is 15°C to 25°C, the label directs 10 days exposure with phosphine,” he says. “Grain more than 25°C will take seven days to be effectively fumigated with phosphine.”
Venting according to the label takes five days, he says, if there is no aeration. The label directs that aeration cooling can be used over at least a day to blow out the phosphine.
To avoid phosphine residue levels and the rejection of loads at grain delivery points, Mr Warrick says phosphine clearance metres can be used to check that venting is complete.
See also: Pressure testing sealable silos.
More information: Stored Grain website, info@storedgrain.com.au; 1800 WEEVIL
Workshops prompt on-farm change
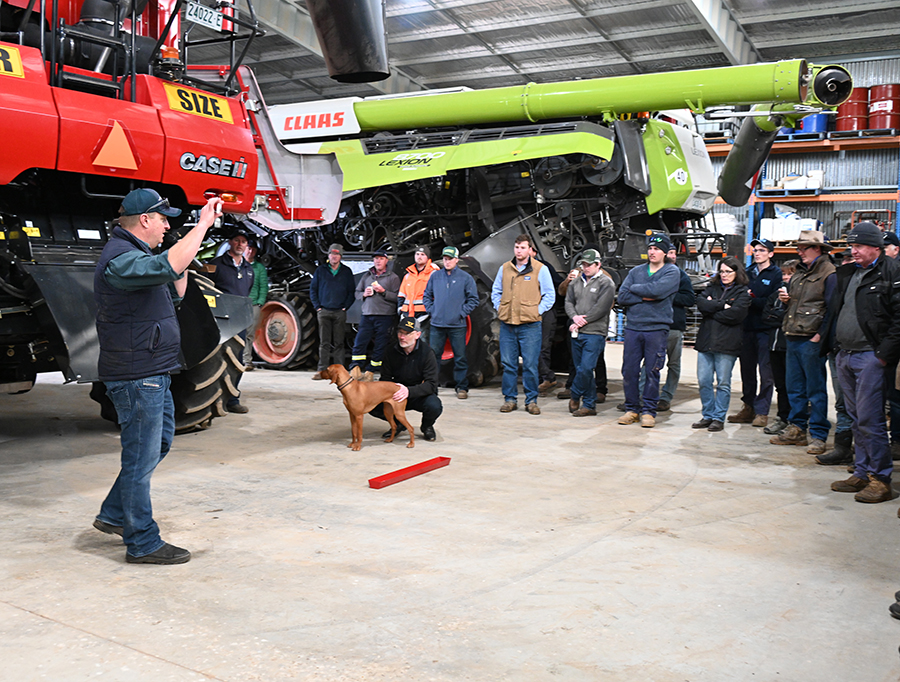
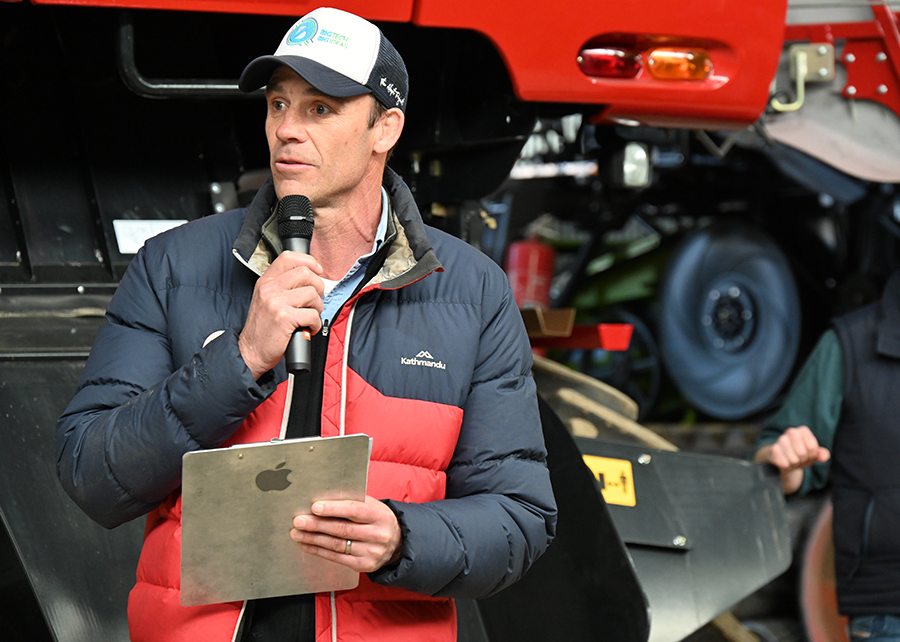
Kondinin Group engineer Ben White discusses effective harvester set-up at the Harden, New South Wales, workshop. Photo: Nicole Baxter
At GRDC Harvester Set-Up Workshops, Primary Sales Australia chief executive Peter Broley asks growers what they intend to change after attending.
The feedback is positive. Below are some of the thoughts of those who attended southern New South Wales workshops earlier this year.
“Header losses are probably more significant than we realise. We learned how to measure and combat those losses.” Darren Smith, Grenfell, NSW.
“A very useful workshop to start going into the nuts and bolts. Not only on loss monitoring but also on performance and fuel economy. The interesting concepts discussed go across all harvester brands. I’ll be looking at optimising performance from the knife all the way to the end of the machine. I’ll also calibrate the loss monitors, so I know what they are doing.”
Alex Gerbhardt, Harden, NSW.
“We will put separator pegs [spike rasp bars] in our New Holland rotors. Loose is fast! Measure it!”
Charles Kingston, The Rock, NSW.
“We will shift our concave, put in threshing bars, open the harvester and learn to measure grain losses, starting at the front and working our way through to the rear. We will also ask whoever is driving the chaser bin to measure the losses. It is a great opportunity to learn.” Glenn Butt, Monteagle, NSW.
GRDC workshops
GRDC Harvester Set-up Workshops will run in Western Australia, Queensland, South Australia, Victoria and Tasmania. Click to register for a location near you.
Western Region
- September 12 – Tarin Rock, WA
- September 13 – Frankland, WA
- September 20 – Merredin, WA
- September 21 – Buntine, WA
- September 22 – Chapman Valley, WA
Northern Region
- September 27 – Dulacca, Queensland
- September 28 – Inglestone, Queensland
Southern Region
- October 11 – Keith, SA
- October 12 – Millicent, SA
- October 13 – Hamilton, Victoria
- October 14 – Inverleigh, Victoria
- October 18 – Hagley, Tasmania
Resources
- Prior harvester lessons increase returns for growers
- Harvest loss goals as grain percentage
- Harvest gains through online networking
- Harvest loss calculator
- Reducing Harvest Losses podcasts.